Navigation
SEARCH
This form does not yet contain any fields.

    Entries in desserts (2)

    Tuesday
    Nov052013

    Chocolate Soil 


    crystallised chocolate soil 

    Join me on Facebook or view my Flickr Gallery

    A two ingredient chocolate soil, I'll give you all the dirt today (ok couldn't resist) on how make it with the least amount of cleaning up.  

    With chocolate soil you can add crunch and texture to a plated dessert, make pot plant cupcakes, set up a garden scene for your cake or perhaps just sprinkle on your favourite ice-cream. 

    Flavour it up; you can use a flavoured dark chocolate i.e. blueberry, orange, mint etc for flavoured soil or add your own flavour by stirring in cinnamon, ginger, chilli flakes, a drop or two of peppermint oil or whatever takes your fancy. 

    We are aren't going to use a *candy thermometer, we are going to do this by eye... a photo will act as your guide. 

    Here we go...

    Chocolate Soil 

    Ingredients

    100g (3.5OZ) Caster Sugar

    75g (2.6OZ) Dark Chocolate roughly chopped (even if you don't usually like 70% dark chocolate, I would recommend using it here because your are adding sugar to counteract the bitterness)

    Tools.... a wire whisk and a baking tray lined with non stick paper ready for you to tip your completed soil on. 

    Method

    On you stove top in a small to medium saucepan add the caster sugar, gently pour in 2 tablespoons of cold water. We are being gentle so we don't splash sugar crystals on the side of the pan.

    Turn on your heat to high and you are going to just let it do it's thing without stirring, the sugar will dissolve and bubble and boil until you see "golden brown edges". 
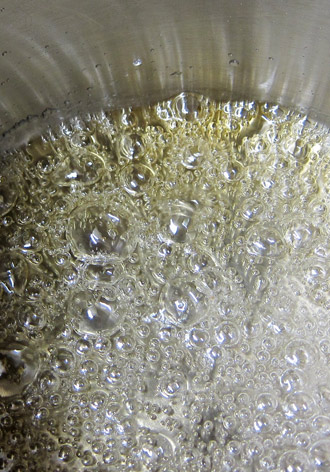
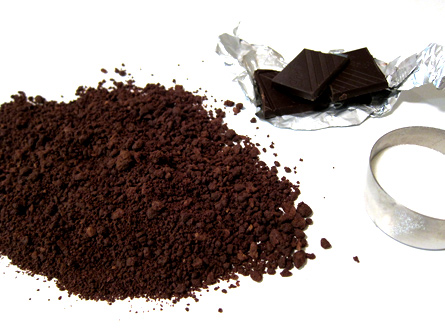
    the center of the boiling sugar is still clear, the edges have changed to golden brown. 
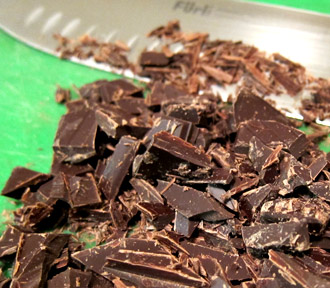
    have your roughly chopped chocolate ready to go

    Immediately remove saucepan from the heat and all at once whisk in the chocolate, along with any flavouring if using. Don't forget to whisk around the edges. Whisk until all the chocolate is coated, this doesn't take long ... a couple of minutes.
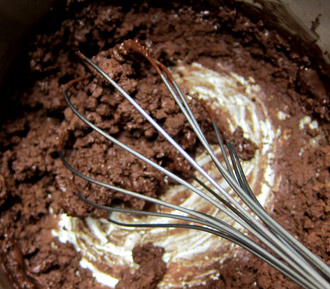
    it starts to look like "soil" almost instantly 

    Yep, you're done, it's finished and ready to poured onto your non stick paper prepared baking tray to cool.
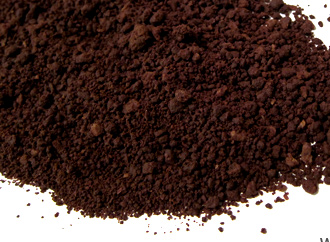
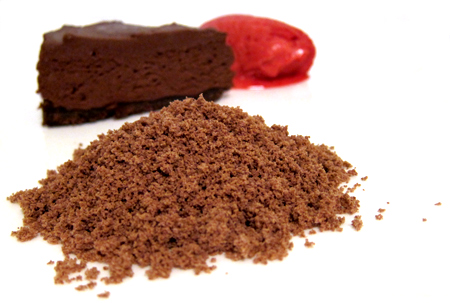
    finished chocolate soil

    Once cool, store in an airtight container for up to a week, or freeze up to a month.

    *I've adapted this recipe from Heston Blumenthal's chocolate soil... halved the sugar and made it a simpler soil. His recipe has many more elements and is part of his wickedly delicious tiramisu recipe. Check out Hestons tiramisu on SBS food

    Clean up tips: Remember how we cleaned up our sugar work saucepans? It's the same today, fill your saucepan with water, bring to the boil, empty the water out and wash as per usual. Clean your whisk the same way, boiling water will remove any stuck on crystallised chocolate.

    *really want to, need to, use a candy thermometer... 135 cel or 275 F. 

    Happy Baking :) 

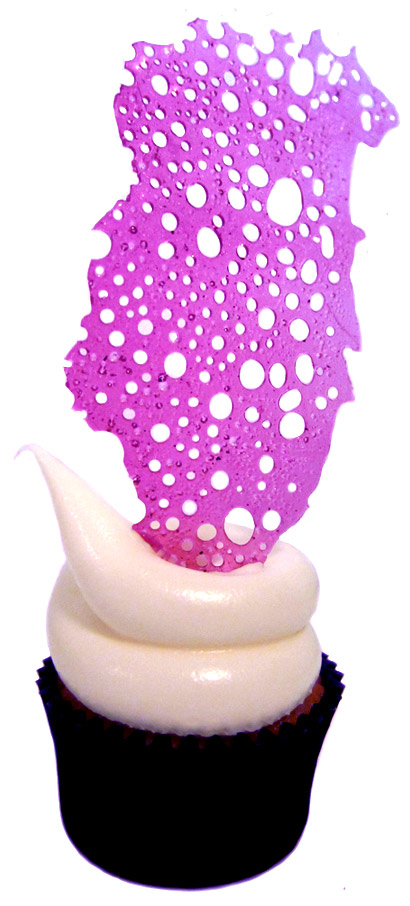
    You might also like to make fast bubble sugar decorations/toppers.
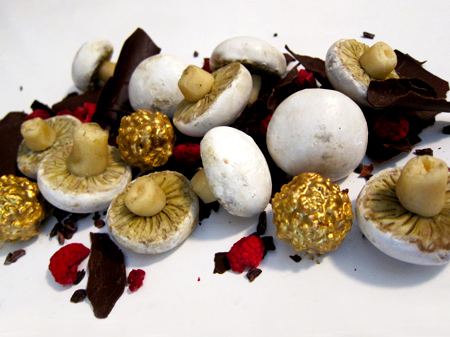
    Make quick and easy faux gingerbread mushrooms

    You've made the soil now make the dust... Nutella dust 
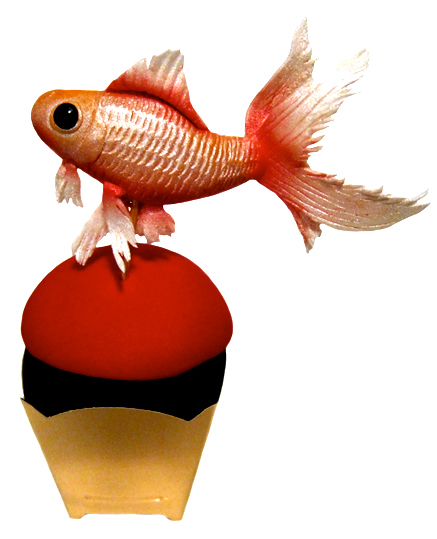
    a change from chocolate? Make a fondant gold fish! 
    Friday
    May112012

    Isomalt sugar drizzled decorations

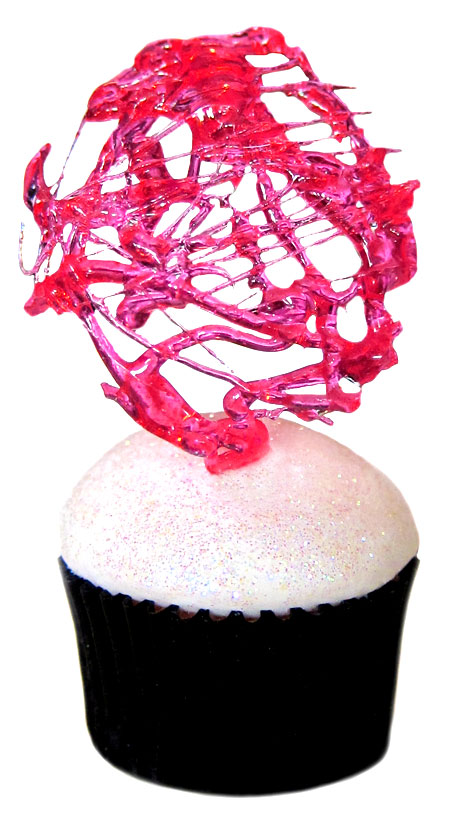
    pink drizzle isomalt decoration tops a mini fondant covered cupcake

    Join me on Facebook

    With a zillion (ok, not quite... but a lot!!) of dessert and cake decorating possibilities "isomalt drizzles" are quick and super easy to make when using precooked isomalt sticks. 

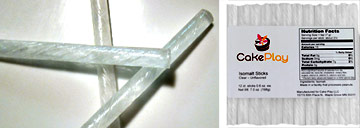
    I used CakePlay's clear isomalt sticks in all today's pieces. The sticks are available in a range of colours, but I prefer colouring the clear isomalt myself. 

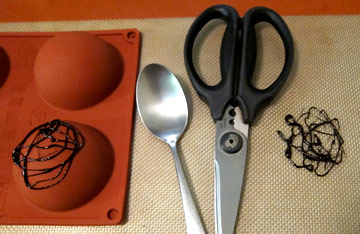
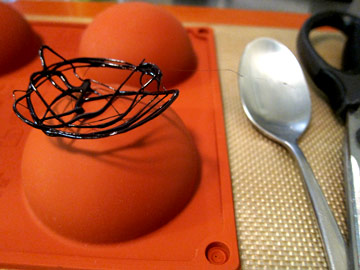
    tools and black isomalt drizzles 

    The only tools you will need are: a spoon, a pair of scissors (oil the blades), a non stick baking mat and a small pyrex or equivalent microwave safe glass jug. 

    If you want to shape your pieces, silicone moulds or any food safe heat proof surface like a tin can, the back of a muffin tin etc can be used... though do oil the surface first, isomalt is mighty sticky! 

    Pieces of sticks are melted in a microwave safe container, a small pyrex jug is ideal. From there you can add a few drops of food colouring and flavouring if desired, move your spoon gently through the melted isomalt to incorporate colour. Concentrated gel paste colour work best, as you don't want to add to much moisture to the isomalt.

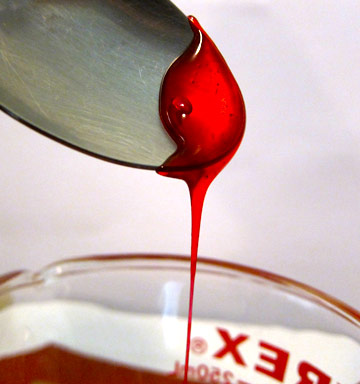
    Gently lift your spoon up and down in the melted isomalt until it thickens slightly and it looks like this....

    try red isomalt drizzles for all your romantic occassions

    Start drizzling!! Drizzle directly onto a non stick baking mat for flat pieces. Drizzle over your oiled mould of choice for shaped pieces or if using silicone you can drizzle directly on the surface. Shaped drizzles hold their shape and you can create baskets or cages with the same method.

    Scissors with oiled blades are used for cutting any errant threads of isomalt and can also be used for trimming/cutting the finished pieces into shapes if desired.


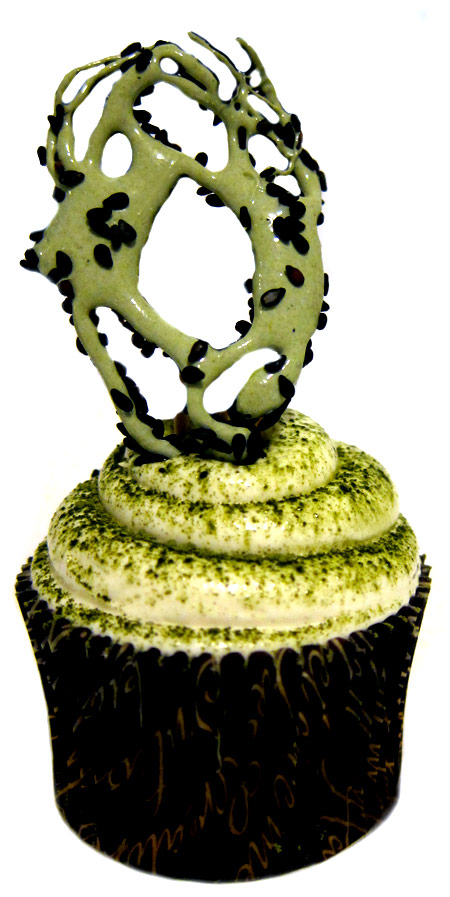
    Japanese Forest Cupcake; offset piping and green tea flavoured black sesame isomalt drizzle to complete the organic look. 

    Solid colour density is achieved by adding a drop or two of white food colouring simultaneously with your colour of choice. For the Japanese forest cupcake I made a slurry of green tea powder and water to add with a drop of white food colouring. Without the addition of "white" the colour is a murky/clear green. 

    If your isomalt hardens before you have finished your drizzles, reheat in 5 second increments in the microwave. Some food colouring shades alter on reheating, for that reason I prefer to work in small multiple batches. 

    To attach isomalt to fondant covered cakes, simply dip the base of your finished drizzle into melted isomalt and attach to your cake... isomalt will set almost instantly giving you a securely attached topper. 

    Isomalt or sugar work pieces are susceptible to moisture and are best used within a few hours. If storage is must, you can try and store the toppers single file in an airtight container with silica sachets... be warned in humid weather you still run the risk of the pieces becoming cloudy.

    Whether you are topping a cupcake or creating a serving basket for you your sorbet, hope you have fun creating isomalt drizzles.

    Happy Baking :)

     *isomalt and sugar and extremely hot when melted, please take extra care when working with either. Remove pets and young children from the room and have a bowl of iced water handy in case of burns. 

    *troubleshoot... "My spoon is in the jug and isomalt has set so I can't microwave"... pop your jug into a bowl, pour boiling water around the jug until isomalt has softened enough to lift out your spoon. 

    *keep your pieces small, thin and easily edible... you don't want broken crowns/dental work spoiling the moment.

    * isomalt sticks are available from cake decorating stores, in Australia I got mine from baking pleasures

       around $15 in Oz or $10 in US for 12 sticks. Also available from Amazon in bulk amounts or single packets 


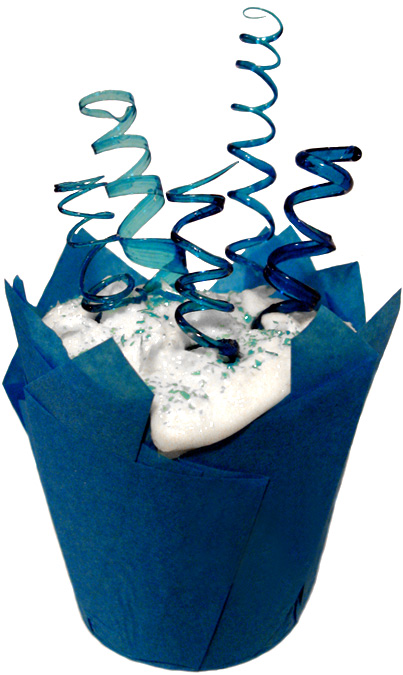
    You might also be interested in toffee springs

    or perhaps flowers made from Starburst lollies for Mothers Day here