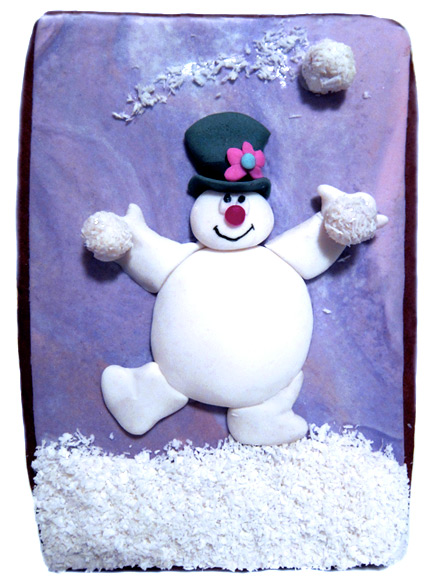
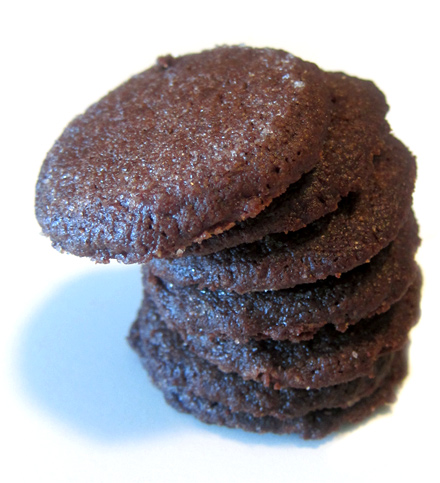
 variations of Martha Stewart's chocolate crackle cookies
UPDATE: February 9th.... please note the glitch in the text display with the Martha Stewart make Cookies App has been fixed. Plus more cookie recipes were added with the last update. We can presume at this stage cookies will be added to the app at regular/holiday intervals :) Don't forget to sync your ipad!
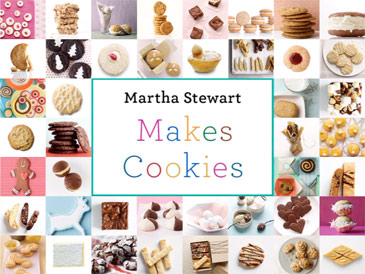
As a self declared Martha Stewart fan (or insert "fanatic" perhaps?), I just had to get the 'Martha Stewart Makes Cookies' app for ipad!
 welcome screen "Martha Stewart Makes Cookies" ipad app
Pros; well it's "'fun and gorgeous", but I guess you want to hear about the features...
It's easy to choose any of the cookies with the apps intuitive navigation methods; either scroll sideways through the images and "touch" to make your selection, or use the selection wheel to dial a flavour/type of cookie and of course you can always go old school and type the cookies name or ingredient into the search box.

scroll sideways then touch to select
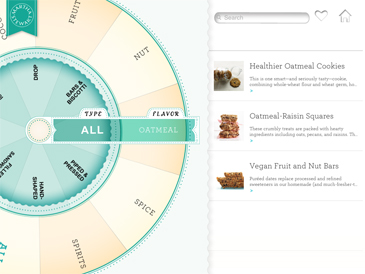
dial a choice with the selection wheel
Helpful pre-set timers are built into the recipes to aid with preparation and baking times.
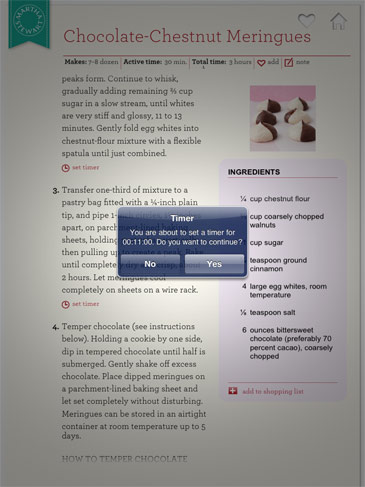
setting the timer for 11 minutes for beating meringue
Ready to share; Loved the recipe you just baked? You can share any recipe through email, Twitter and on Facebook with a touch of a button.
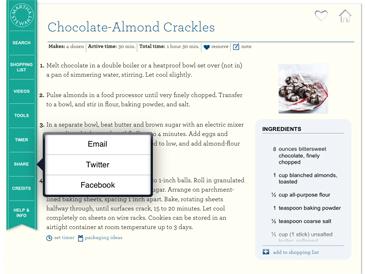
share a recipe
emailing a recipe, the full recipe arrives in your inbox complete with small colour image of the cookie.
Other main features include a dozen short videos showing a cookie being made or technique, shopping list and the ability to bookmark favourites. The new recipes featured and twists on classic recipes are delightful.
Cons; first up the price at $7.49 (US) or $9.99 (AU) is high for an app. I'd definitely like more packaging ideas (the same two come up over and over again) and more recipes!! If you already own Martha Stewart's Cookies book or are a Martha fan you will find a lot of familiar territory covered; traditional shortbread, sugar cookies, mexican wedding cookies, and yes... biscotti. No metric!!
There is a small programming glitch (that I'm sure that will fixed in an update) that blurs the third line of each cookies intro page.
double blur on third line of all the cookie intro pages
Personally, I'm loving this app for the share and timer abilities, ease of use, the twists on Martha's classic cookies plus the gorgeous photography. This app would suit Martha fans and those ipad carrying people that are new to cookie baking. Whilst there is room for improvement, for a first app it's fantastic and I'm looking forward to future Martha Stewart apps.
 'Martha Stewart Makes Cookies' app from the iTunes store
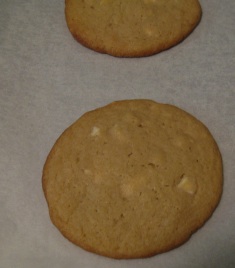
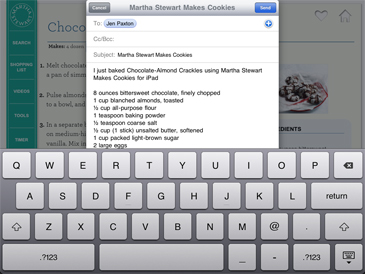
In the 'Martha Stewart Makes Cookies' app you will find a variation of the classic Martha Stewart 'Chocolate Crackle' cookies, this one containing ground almonds... with only a half cup of wheat flour this recipe would be ideal to convert to gluten free.
Chocolate-Almond Crackles using Martha Stewart Makes Cookies for iPad
8 ounces (225 grams) bittersweet (dark eating chocolate), finely chopped
1 cup blanched almonds, toasted
½ cup all-purpose flour
1 teaspoon baking powder
½ teaspoon coarse salt
½ cup unsalted butter, softened
1 cup packed light-brown sugar
2 large eggs
1 teaspoon pure vanilla extract
1 cup granulated sugar
1 cup confectioners’ sugar
1 Melt chocolate in a double boiler or a heatproof bowl set over (not in) a pan of simmering water, stirring. Let cool slightly.
2 Pulse almonds in a food processor until very finely chopped. Transfer to a bowl, and stir in flour, baking powder, and salt.
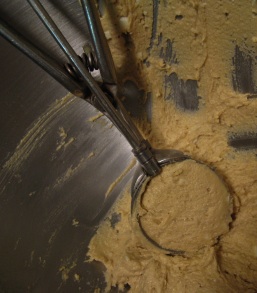
3 In a separate bowl, beat butter and brown sugar with an electric mixer on medium-high speed until fluffy, 3 to 4 minutes. Add eggs and vanilla. Mix in chocolate. Reduce speed to low, and add almond-flour mixture. Cover and chill 1 hour.
4 Preheat oven to 175 celsius (350°). Shape dough into 1-inch balls. Roll in granulated sugar to coat, then in confectioners’ sugar. Arrange on parchment-lined baking sheets, spacing 1 inch apart. Bake, rotating sheets halfway through, until surfaces crack, 15 to 20 minutes. Let cool completely on sheets on wire racks. Cookies can be stored in an airtight container at room temperature up to 3 days.
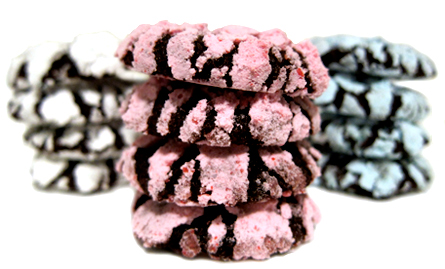
Coloured Sugar: I made coloured batches of icing sugar by whirling icing sugar and either powdered food colour or gel paste colour in the food processor. You do get tiny dots of intense colour with both powder or gel. I wanted them to match the flavour variations I had planned....
I made one batch of these Chocolate-almond Crackle cookies and rolled them in white icing sugar.
Then I made a batch of the traditional Chocolate Crackle cookies from Martha Stewart's website. I divided that dough in half adding a 1/2 cup of chopped dried blueberries to one half (rolled in blue) and 2 teaspoons of raspberry liqueur to the other half to be rolled in the pink.
*note if you are using the recipe for Chocolate Crackle cookies from Martha's website there is one step missing that is included in the cookie book. Roll your cookie dough balls in granulated/white sugar before rolling in icing sugar... this step ensures a pristine finish for when you need to package your cookies as gifts. 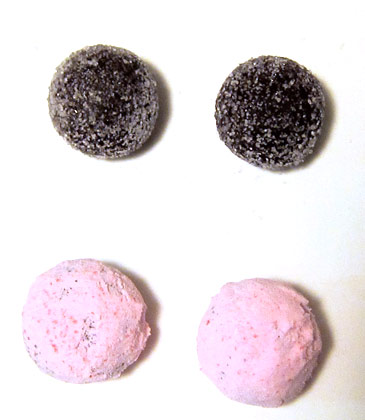
Happy Baking :)
 you might also like Martha's Baking Handbook review
today's main photo Daniel Paxton-Zahra
 double chocolate oriolos
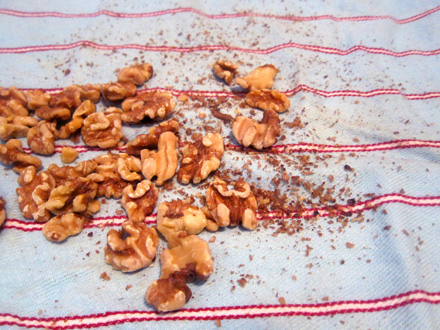 That's how the recipe starts, skinning your walnuts.
 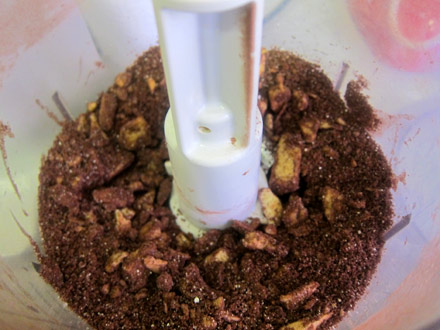 Cubed chilled butter is processed through cocoa, walnut, sugar mixture until absorbed.
 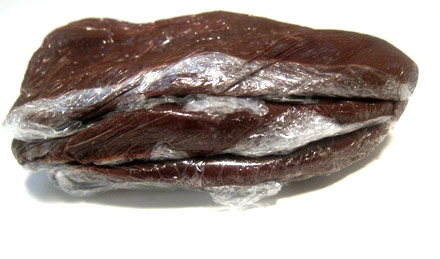 The resulting dough was divided into three parts. Chilling is an important step in this recipe to ensure your cookies keep their shape.
 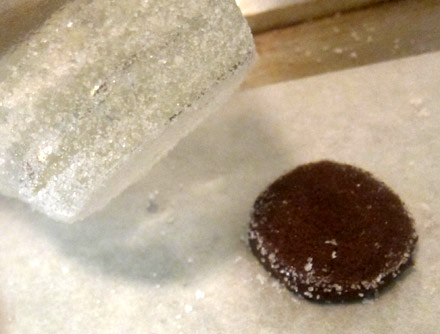 Working with one disc of dough at the time and keeping the remainder chilled, I divided and rolled 12gram balls of dough. On your lined baking sheet you press each ball with a flat bottomed glass/tumbler that has been sprayed with cooking spray and dipped in granulated sugar.
 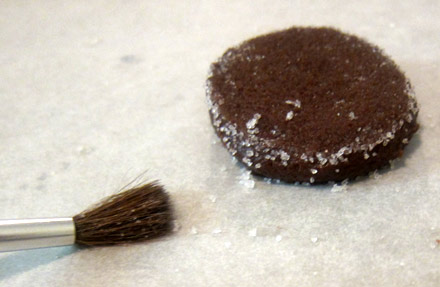 Brush away any excess sugar on your tray with a soft brush before going into to bake.
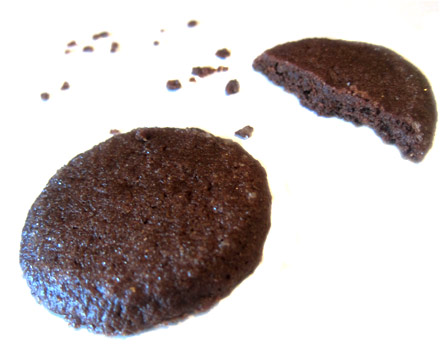 Yes, they might look unassuming but these cookies are a taste/texture treat. I made a double batch as I promised step son Dan that I will make him bourbon pecan butter balls with a pulversied batch of these cookies.
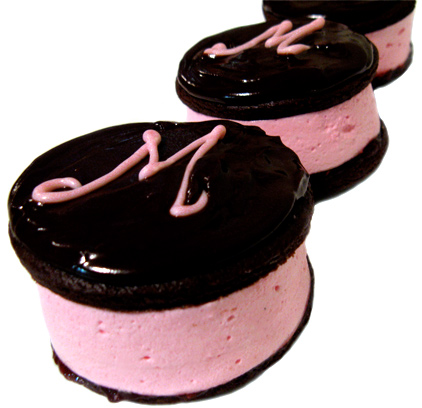
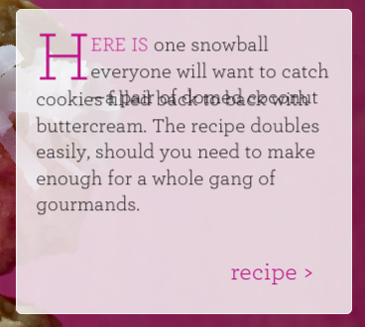
 Liquorice Lovers!! here is your ice-cream recipe.
 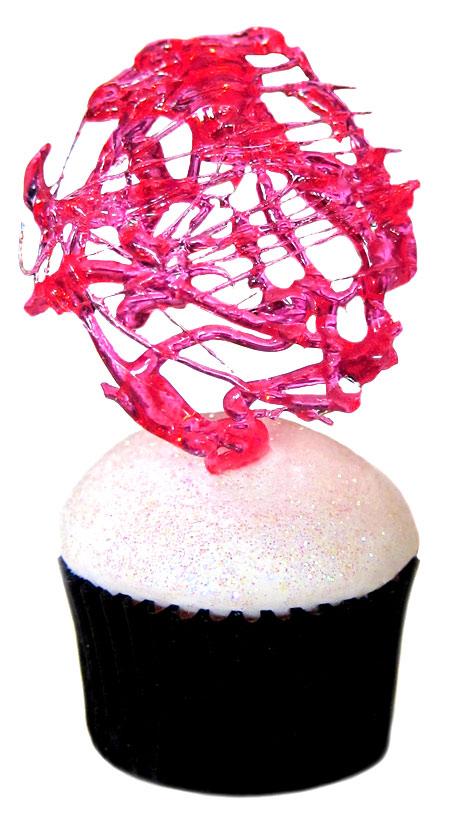 Pink drizzle isomalt how to... isomalt drizzles pretty and versatile sugar finish.
  The Lone Baker